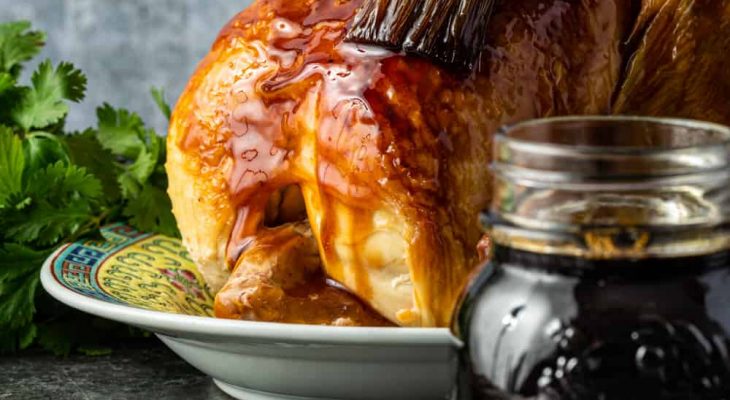
A quick post as I finally got the chance to make Renee’s Teriyaki Sauce for canning. My great nieces are the pickiest of eaters but love Chicken Teriyaki and every once and a while they come for dinner when their Nona (my sister) is in town. I did a couple of jars so that I had the sauce on hand. It’s really a super simple recipe and comes out I think better than store bought since some store bought contain corn syrup.
Thanks Renee for the great recipe and the adaptation for those of you that need it to be gluten free!
Clear Jel is a modified cornstarch that has been tested to be stable after multiple heatings. I carry Clear Jel at the SB Canning store as it’s not always easy to find and is not available in traditional grocery stores. There are two types of Clear Jel, “cook” type and “instant”. I only carry the “cook” type so that there is no confusion. The Instant is used for cold processing like puddings and ice cream. Here is the link to purchase Clear Jel
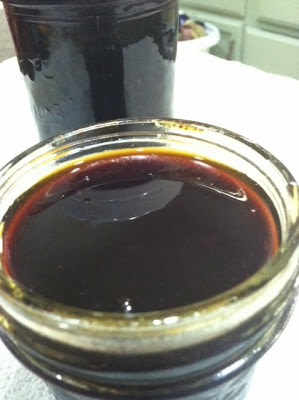
Teriyaki Sauce
Ingredients
- 2 cups soy sauce (There is a gluten free version that doesn't have wheat)
- 2 cups light brown sugar
- 1 cup white vinegar
- 4 T. fresh ginger, chopped finely or grated
- 2 T. bottled lemon or lime juice
- 2 T. Clear Jel
Instructions
Preparation:
- Prepare 4 half pint lids, and rings.Sterilize the jars and keep them in the hot water till it’s time forprocessing. Make sure to fill your water bath canner and get the water to asimmer.
Cooking:
- In a stainless steel or enameled dutch oven combinesoy, brown sugar, lemon/lime juice, ginger, and vinegar.
- Bring to a boil overmedium-high heat, then lower the heat to a simmer for 20 minutes. In the lasttwo minutes remove 2 tablespoons of the mixture and the Clear jel and mix tillit’s incorporated.
- Bring up the heat to medium and add to pot and whisk tillthe mixture gets thick. Remove from heat.
Filling the jars:
- Using your funnel in each jarladle the mixture into the jars leaving 1/4" headspace.
- Taking a cleanpapertowel wet it with warm water and wipe the rims of the jars removing anyfood particles that would interfere with a good seal.
- Using your magic wandextract the lids from the hot water and place them on the now cleaned rims. Addyour rings to the tops of each of the jars and turn to seal just "fingertight".
Processing:
- Place the jars in the water bath making sure that thewater covers each of the jars by 1 to 2 inches. Add hot water to the canner if it doesn't measure up.
- Cover the pot and turn up the heat under the canner andwait for the water to start boiling. Once the water has come to a boil startyour timer for 15 minutes.
- When complete turn off the heat and remove the coverand let the jars sit for another few minutes.
- Remove the jars and place themback on the dishtowel in a place that they will sit overnight to cool. Do nottouch or move them till the next morning.
Sealing:
- Sometimein the next hour your jars will be making a "pinging" or"popping" noise. That is the glass cooling and the reaction of thelids being sucked into the jar for proper sealing. Some recipes may takeovernight to seal. Check your lids and reprocess any jars that did not seal.
Labeling:
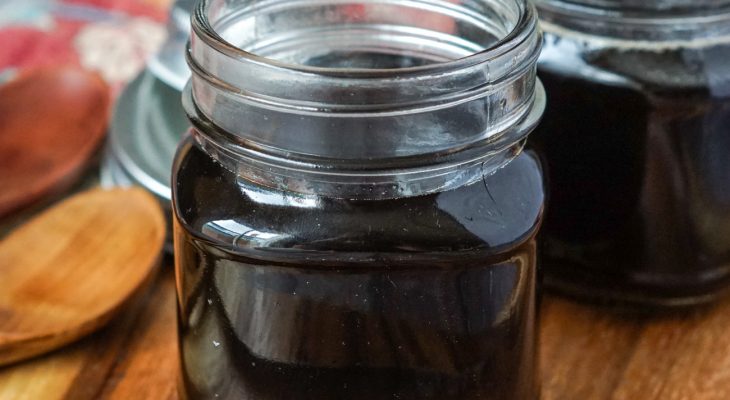
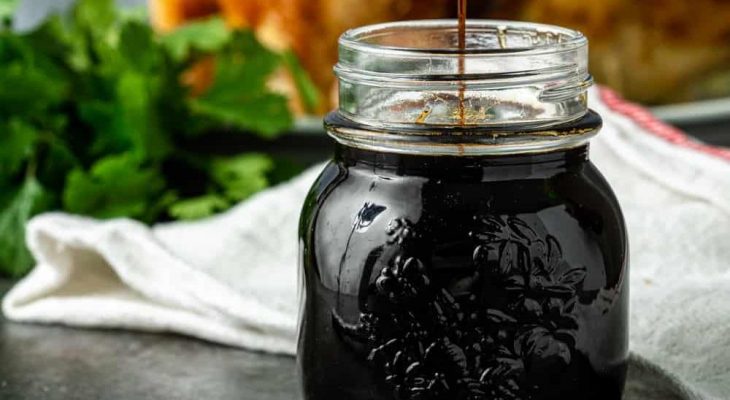
- Make sure to label your jars after they have cooled with thename of the recipe and the date canned. If you want to use the shrink labels inthe picture you can order them Here!


4 Comments
Becca
Posted on: January 24, 2020Hi! This might be a beginners question…I was curious if I could use apple cider vinegar instead of white vinegar. Unfortunately I am all out of white vinegar, but have an abundance of ACV. Thank you in advance!
Debbie Searles
Posted on: January 24, 2020Hi! I was wondering if I could use liquid aminos, in place of the soy sauce, in this recipe. Thank you in advance for you help.
Darcy
Posted on: January 24, 2020This looks great! I am a fan of garlic Teriyake and was wondering about adding minced garlic. Do you think this would be an issue?
Carol Gill
Posted on: January 24, 2020Missing from the instructions is a very important step. Once out of the canner, the jars should not be touched for at least 12 hours. Any jar that have not sealed MUST be refrigerated or reprocessed no later than 24 hours. This is a safety issue, not an optional step. If you touch a jar causing the lid to seal it is a false seal and the product is no shelf stable.