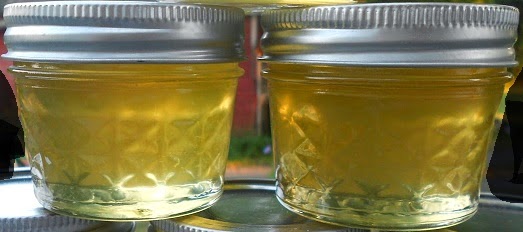
Corn Cob Jelly
Corn Cob Jelly
Ingredients
- 12 pc. large corncobs
- 4 cups sugar
- 4 cups water
- 1 package powdered pectin
- Yellow food coloring
Instructions
Preparation:
- Prepare 7 half pint jars, lids, and rings. Sterilize the jars and keep them in the hot water till its time for processing. Make sure to fill your water bath canner and get the water to a simmer.
- Cut corn kernels from cobs and save for canning or freezing. When cutting the corn from the cob it's not important for it to be right to the core.
Cooking:
- In a large stainless steel pot add corncobs and water. Heat to a full boil for 10 minutes.
- Remove the corn cobs and using cheesecloth strain the liquid. You will need to measure 3 cups. (Original recipe said to add water to fill if you are short. I didn't want it watered down so I just boiled another two cups of water with the cobs in there again).
- Put the 3 cups of corn water back into the pot and stir in the pectin. Bring to a full boil. Add your sugar and bring back to a full rolling boil.
- Turn off the heat. If you have foam skim with metal spoon. If you want to add the yellow coloring add a few drops and stir it in.
Filling the jars:
- On a dishtowel place your hot jars and using your funnel in each jar using a ladle then fill the jars leaving 1/4 ” headspace.
- Taking a clean papertowel wet it with warm water and wipe the rims of the jars removing any liquid jelly particles that would interfere with a good seal.
- Using your magic wand extract the lids from the hot water and place them on the now cleaned rims. Add your rings to the tops of each of the jars and turn to seal just "finger tight".
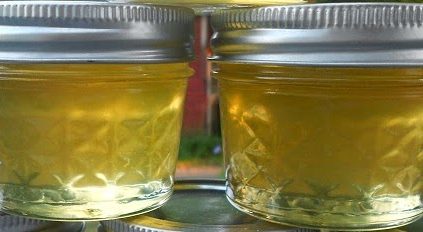
Danene's Corn Cob Jelly
Processing:
- Make sure your rack is on the bottom of the canner and place the jars in the water bath making sure that the water covers each of the jars by 1 to 2 inches. Add hot water to the canner if it doesn't measure up.
- Cover the pot and turn up the heat under the canner and wait for the water to start boiling. Once the water has come to a boil start your timer for 10 minutes.
- When complete turn off the heat and remove the cover and let the jars sit for another few minutes.
- Remove the jars and place them back on the dishtowel in a place that they will sit overnight to cool. Do not touch or move them till the next morning.
Sealing:
- Some time in the next hour your jars will be making a "pinging" or "popping" noise. That is the glass cooling and the reaction of the lids being sucked into the jar for proper sealing. Some recipes may take overnight to seal. Check your lids and reprocess any jars that did not seal.
Labeling:
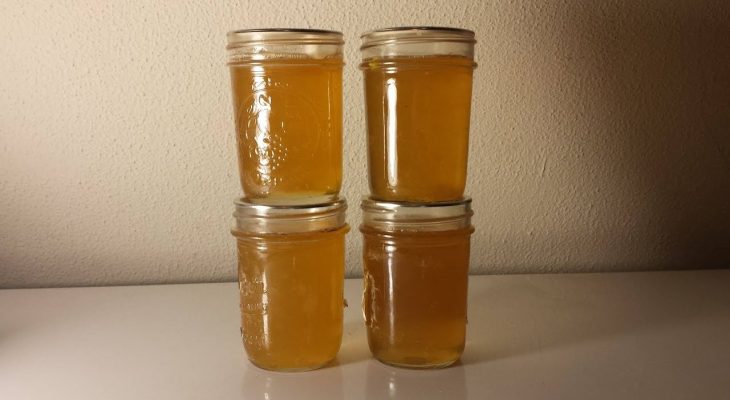
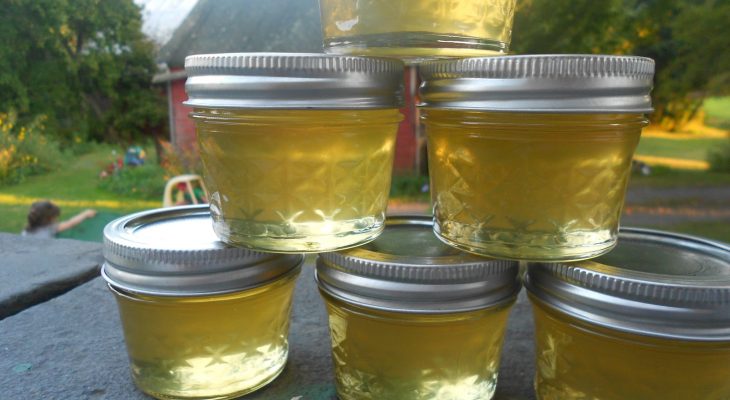
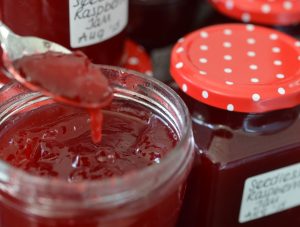
- Make sure to label your jars after they have cooled with the name of the recipe and the date canned. If you want to use the shrink labels in the picture you can order them Here!




One Comment
ashok
Posted on: November 22, 2019Thanks For Sharing this amazing recipe. My family loved it. I will be sharing this recipe with my friends. Hope the will like it.