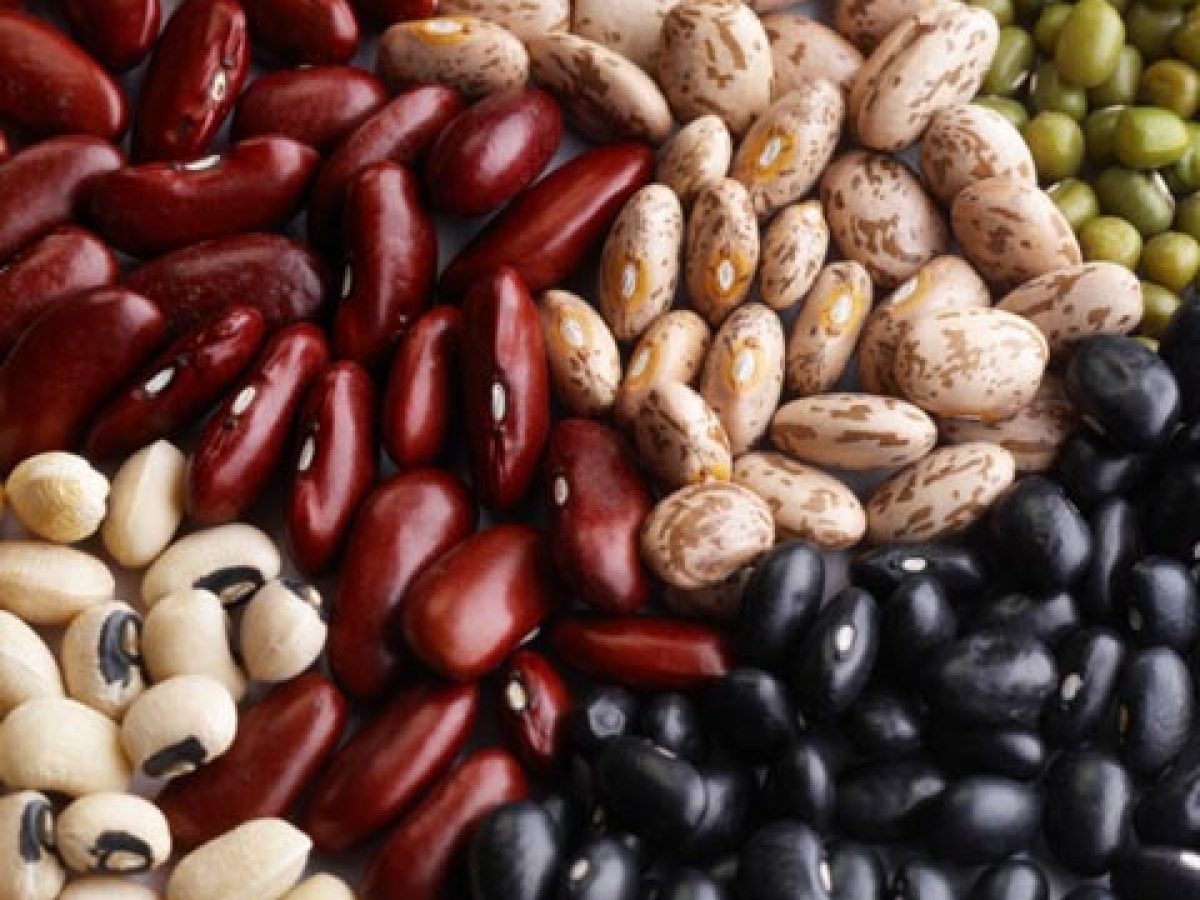
My class at Fairview Farms this last weekend was all about pressure canning. Mark, the general manager of the farm, had designed the class so we were processing tomatoes, but we decided since he had a lot of dried beans that I would teach how to can them as well.
Many of my FB readers have questioned the cost, the quality, time investment and space issues with pressure canning beans. I think that they are all valid concerns, but I have found personally that it REALLY works for me. I look at it this way; If food is in your pantry already prepared aren’t you more likely to eat it than having to cook it when you have been working all day or tired? I also know that teenagers, since I have one, aren’t great at cooking dried beans, but will eat them if all they have to do is reheat inside a tortilla with a little cheese. Cost: I have seen many site breakdown the cost of making beans but I thought since I live in one of the most expensive cities in the country you might feel better in comparison to your town. Going to the store these days a can of beans is about $1.25 per can for about 8 ounces of beans and 7 ounces of some undecided liquid that they are swimming in. The low salt version maybe .10c more. To buy the fancier ones like the spicy, bbq’d, or pork and beans you could pay more like $1.50 to up to $2. for the same size.
Side note: I am more curious why cans at the grocery store are sometimes 14 and 15 oz size? Doesn’t anyone else think that’s odd?
Doing the math of the home canner; I spend $1.50 – $2.00 for a 2 pound bag of dried beans. I have to take into consideration my natural gas and water for a double stacked pressure canner (12 -16 pints) and the cost of the spices that I might add to the jars and I come up with a conservative total of $6 cost overall. That is a pint cost of less than .40c per jar. That makes sense to me. Some canners many want to calculate the initial cost of the jars at approximately $10 per case for a first year increase of about .85c per pint size jar. My total investment year one $1.25c per jar.
Quality: I think that this issue is more about what goes into the jars than anything else. No salt (optional), no sugar (optional), no preservatives (definitely). The beans will be tender and the jars will be 90% beans and 10% the liquid that you added to either add flavor or moisture.

Time: I also think it may be a deterrent to many canners who may not have the time because of work or children. Ponder now, would 8 pints of beans last you a few months, but 16 may last a small household half a year? For an investment of 3 hours of your time, 1 hour of which is soak time you can have the beans done.
Here is the process:
1. Wash and sort the beans (pick out rocks) – For 2 pounds it takes me 10 minutes
2. Put the beans in a big pot and cover with water. Bring beans to a quick boil and turn off the heat. Let the beans sit for an hour. (Remember expansion – The biggest pot will allow you to not have to transfer them once they sit for an hour)
Note: At this point you could store them in the refrigerator overnight to process the next day.
3. Cover the expanded beans with more water and cook them for 30 minutes. Try to keep them at a simmer. Boiling the beans may split them.
4. Prepare your Pressure canner! Sterilize your jars.
5. During the 30 minutes you can get your spices and herbs ready for flavoring. If you are doing a bbq bean or spicy bean you will need to make your molasses or brown sugar liquid or cut your peppers depending on the recipe.
6. Once the jars are filled and in the canner you have about 15 minutes for the canner to come up to pressure then 65 minutes of cook time for pints and 75 minutes for quarts for beans that have tomato juice or molasses sauce or 75 minutes for pints and 90 minutes for quarts with water alone. But then you are done!
Space: This section will be tricky because everyone’s home is different. Your space may be an issue given that the reality is that dried beans take up less physical space than jars. But I have made a conscience chose to be a “perimeter shopper” at the store and many of the products that usually clutter my pantry are no longer just sitting there for months waiting to be eaten. That may be a choice that you make for yourself or just the idea of having already completed jars of healthy beans may push you to make a choice to rearrange things and make the space.
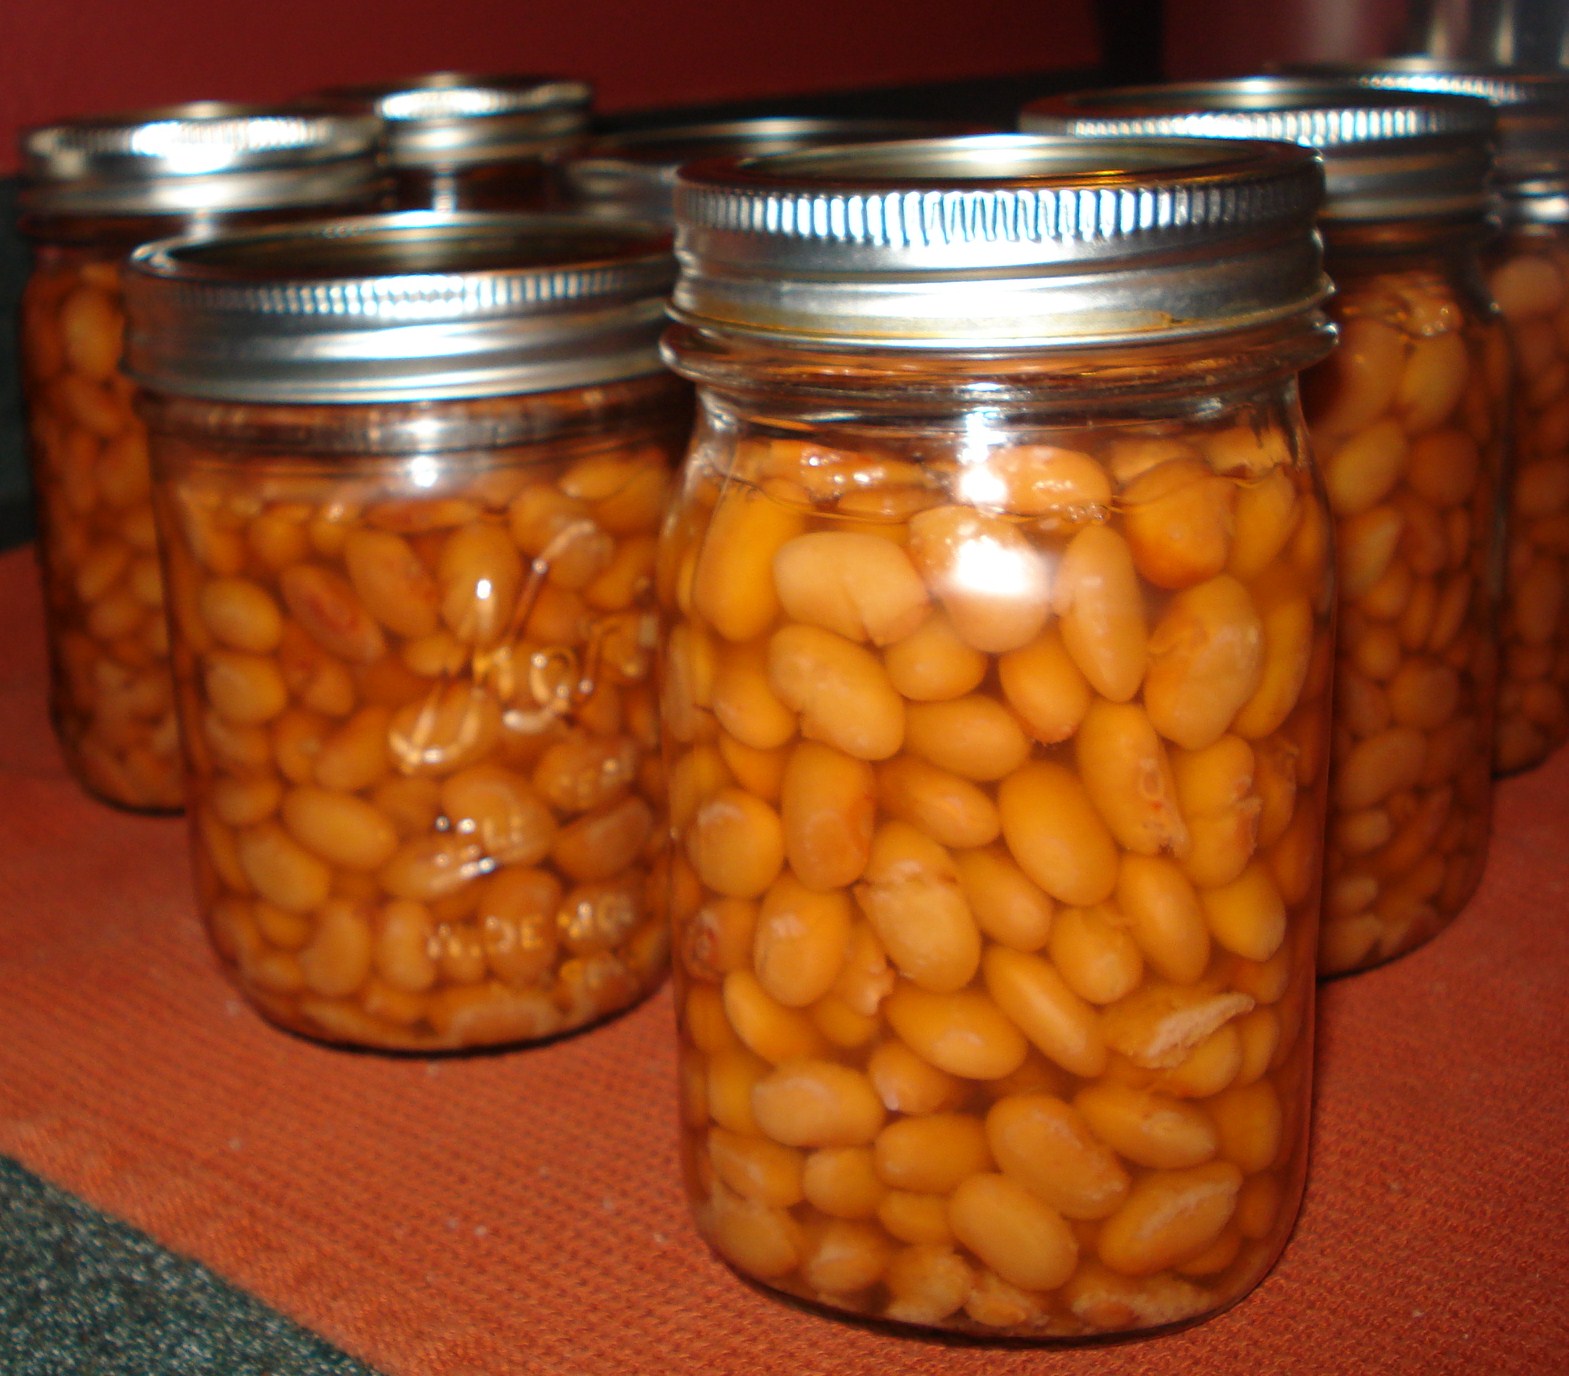
Additional ideas: You can also do your beans in smaller batches or do different bean types like kidney or black beans or black eyed peas to fill the canner since the processing time is the same. Just make sure that you can all of them in the same size jar.
If canning beans is something you would like to try and have a pressure canner at home or plan to get one here are some of the recipes:


One Comment
Julia Johnston
Posted on: May 26, 2019I am new to pressure canning, so far I have tried canning black beans, pinto, chickpeas. What I have found is that soaking my beans overnight, then cooking for 30 minutes, then filling my jars to pressure can for 75 minutes leaves my beans like mush. Is there something I am doing wrong? Is there a way I can avoid over cooking