Well the holiday has past, the skies are blue here in Santa Barbara, and the farmers markets are still cranking out lots of fresh produce. But sometimes once the season has past having dried fruit combined with fresh can be amazing jams and flavors that you will only get if you have preserved the fruit from the season past.
Tonight’s adventure is was in dried figs and fresh pears. For me, making this combination required me to look up in my “Flavor Bible” the other ingredients that would marry well with these two items. As quickly as my fingers could turn to Dried Figs I had some common flavors that worked for both the pears and figs. Now to the prep and cooking of this new jam.
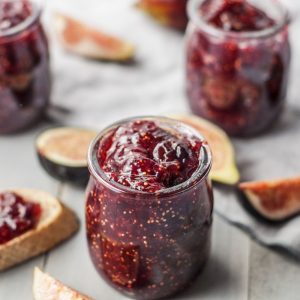
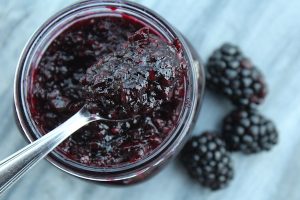
Figgy Pear Jam
Ingredients
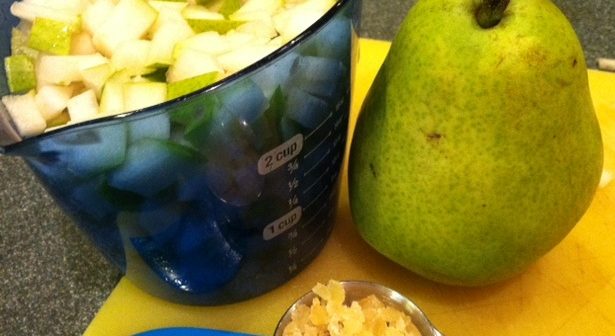
Pears and Ginger
- 1 cup dried figs, small dice
- 3 cups pears, barlett or anjou, small dice
- 1/2 cup water
- 1 T. crystallized ginger, tiny dice
- 1/4 cup honey
- 1/2 cup light brown sugar
- 1 cup cane sugar
Diced dried figs
- 2 T. bottled lemon juice
- 2 T. Ball flex batch pectin (low sugar)
Instructions
Preparation:
- Prepare 4 half pint jars, lids, and rings. Sterilize the jars and keep them in the hot water till its time for processing. Make sure to fill your water bath canner and get the water to a simmer.
Cooking:
- In a stainless steel or enameled dutch oven combine the diced pears, dried figs and water. Heat on medium for 10 minutes, stirring occasionally.
- Add the crystallized ginger and honey and stir in well, continue to cook for another 10 minutes so that the pears will start to break down.
- Now add the sugars and lemon juice and cook for 20 minutes, stirring occasionally keep the recipe at a simmer during this time.
- Bring the heat up under the jam and bring the recipe to a boil and add the pectin. Once you have stirred it in set the timer for one minute and do not stir it anymore.
- Once the time is up turn off the heat and prepare you work station for processing.
Filling the jars:
- On a dishtowel place your hot jars in a semi circle leaving room for your pot that has your recipe.
- Using your funnel in each jar ladle the mixture into the jars leaving 1/4" headspace. Start from the top of the semi circle and work your way to the end. Remove air bubbles and refill to the proper headspace if necessary.
- Remove your recipe and taking a clean papertowel wet it with warm water and wipe the rims of the jars removing any food particles that would interfere with a good seal.
- Using your magic wand extract the lids from the hot water and place them on the now cleaned rims. Add your rings to the tops of each of the jars and turn to seal just "finger tight".
Processing:
- Make sure your rack is on the bottom of the canner and place the jars in the water bath making sure that the water covers each of the jars by 1 to 2 inches. Add hot water to the canner if it doesn't measure up.
- Cover the pot and turn up the heat under the canner and wait for the water to start boiling. Once the water has come to a boil start your timer for 10 minutes. When complete turn off the heat and remove the cover and let the jars sit for another few minutes.
- Remove the jars and place them back on the dishtowel in a place that they will sit overnight to cool. Do not touch or move them till the next morning.
Sealing:
- Some time in the next hour your jars will be making a "pinging" or "popping" noise. That is the glass cooling and the reaction of the lids being sucked into the jar for proper sealing. Some recipes may take overnight to seal. Check your lids and reprocess any jars that did not seal.


One Comment
t hughes
Posted on: April 21, 2020i love this site so much. i have used dozens of canning recipes from here and they always turn out perfect. i am relatively new to canning so i am extra grateful for how fun, delicious, and reliable your recipes are.