I have been blessed with having a site that not only inspires but teaches people how to make canning and preserving a part of their lives. It’s important to me to also show the accomplishments of the people who have inspired and motivated me to continue to do the work. Lately that has been the majority of my postings and hopefully the people that are reading these posts are still enjoying the information. All the recipes that are being posted have been reviewed by me, in some cases before the people even started buying the ingredients.
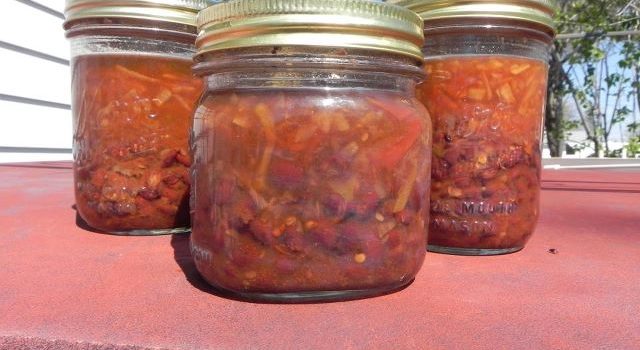
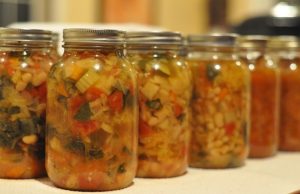
Recently, Dayna Winge, a good and dear friend in North Dakota really wanted to put together a soup. Being that it’s usually cold in that part of the country I was excited to help create a soup to keep her and Bug, her son Alek, warm on those cold afternoons and evenings. She chose two potential recipes. Dayna being resourceful decided not to start from scratch with all the ingredients, but to use jars she had previously canned to make up this delicious Black Bean Salsa Soup.
From Dayna: “I made it as a soup, but you could eat it however you want. It might be a little runny for chips, but you could probably mash the beans and make it thick enough. A great idea to try is mix with rice.”
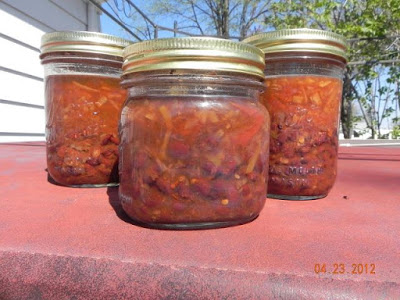
Black Bean Salsa Soup
Ingredients
- 1 pound dried black beans
- 1 pint homemade salsa ( I used the zucchini salsa)
- 1 pc. onion chopped (I used dried onions)
- Broth (beef, chicken, veggie)
- cumin
Instructions
Preparation:
- Fill your pressure canner with 2 to 3 inches of water and place the rack at the bottom. Please follow the instructions that came with your canner for adding the amount of water. Begin heating the water in the bottom of the canner with the lid off.
Food Preparation:
- Rinse and sort the beans. Boil for about 5 minutes, remove from heat and let soak for 1 hour. The beans won't be cooked through, but will hold up and finish cooking when you pressure can them.
Filling the jars:
- In each pint jar, put 1 cups beans, 1/4 cup salsa, 3 T chopped onions and a pinch of cumin. You don't want more than 1/2 full of beans to allow for expansion. Fill up to 1" headspace with your hot broth. Remove air bubbles with your rubber spatula or chopsticks and refill if necessary.
- Taking a clean damp papertowel, wipe the rims of the jars removing any food particles that would interfere with a good seal for your lids.
- Using your magic wand extract the lids from the hot water and place them on the now cleaned rims. Add your rings to the tops of each of the jars and turn to seal just "finger tight".
Processing:
- Make sure your canning water has come to a simmer and place the jars in the pressure canner. Lock the lid and turn up the heat bring the canner to a boil.
- Vent steam for 10 minutes and then close the vent by adding the weighted gauge or pressure regulator (for dial gauge canner). Process pints for 75 minutes and quarts for 90 minutes at 10 lbs of pressure (11 lbs for dial gauge canner). Adjust pressure for altitude.
- When complete turn off the heat and let pressure return to zero naturally. If you have a lid lock you will want to wait till the lock drops. Wait two minutes longer and remove the weighted gauge or pressure regulator.
- Remove canner lid. Wait 10 minutes then remove jars and place on dishtowel in a place that they will sit overnight to cool. Do not touch or move them till the next morning.
Sealing:
- Some time in the next hour your jars will be making a "pinging" or "popping" noise. That is the glass cooling and the reaction of the lids being sucked into the jar for proper sealing. Some recipes may take overnight to seal. Check your lids and reprocess any jars that did not seal. Remove rings for storage.
- Yields 7 pints..


Leave a Reply