I had the opportunity a week ago to teach how to make homemade sausage to a small group of ladies. It was a lot of fun to show how easy the process of grinding and stuffing the casings can be. In addition we cooked up the sausage and using a safe spaghetti sauce recipe we added our homemade sausage to the sauce and canned it up using the pressure canner. Everyone got two jars of sauce with the meat to take home and lots of sausage in food saver bags for the freezer.
I thought since this was more of an evening class that I would also teach one of the easiest breads to put together. They learned how to make the 4 ingredient bread and after everything was done; bread baked, spaghetti sauce, sausage, and the combination in the jars and pressure canner going, we all sat down to a spaghetti meal with our homemade sausage and fantastic bread. Here is the recipe for the sausage that we made then added to the sauce.
Here are also the recipes for the Spaghetti Sauce with meat and the 4 Ingredient bread!
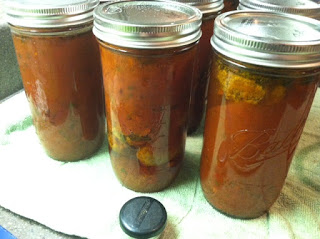
Before adding the sausage to the jars we precooked it and then cut it into chunks.
For good pork sausage you will want to find a pork butt (also known as boston butt, shoulder blade roast) that has some good marbling. The key is that the fat will grind along with the meat and the result will be a succulent sausage when cooked. With a lean cut of pork like the loin you will have to ask the butcher for pork fat which is less than a $1 a pound. Try to find the least expensive cut since it will be ground up anyway.
Italian Sausage
Ingredients
- 2 t. red pepper flakes
- 4 t. minced garlic
- 4 t. ground coriander
- 1 T. salt
- 2 t. pepper
- 6-7 lb pork butt including the fat
- 1/2 lb pork fat (only if butt is not fully marbled)
Instructions
- Prepare the casings by soaking them in cold water overnight. The casings are stored in salt when you open the bag. That is why we soak them overnight. Run water through the casings using a straw the next day.
- Cut the meat and fat into 1 inch cubes. You want to use the butt since it is well marbled with fat. That will keep the sausage once it's cooked from being too dry.
- Freeze cubes for 30 minutes to firm them up before grinding. You will want to keep the meat cold so you don't have bacteria growth.
- Grind the meat and fat together through the fine disk of a meat grinder. In a large bowl, combine meat mixture with the rest of the ingredients above. Mix well, using your hands. Freeze again for another 30 minutes.
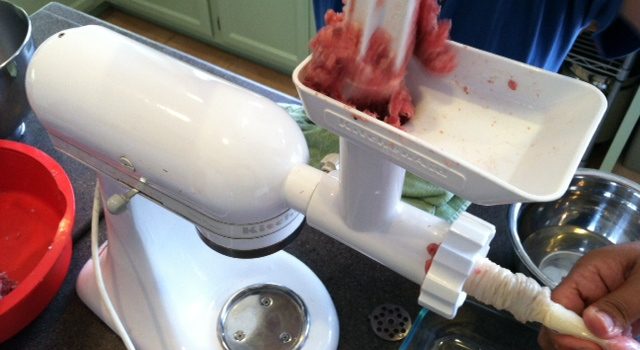
- Grind the seasoned mixture through the fine disk again. Before you start to fill your casings fry up a small patty of the mixture to make sure that it's seasoned the way you want it. This will be your test patty! Stuff the mixture into the prepared casings...
- Prepared Casing - slide the 5 ft of casing on the extruder tube. The key is to stretch with one hand and slide it on with the other. Once all of the casing is loaded on the tube tie a knot at the end of the casing.
- Begin filling the casing and letting the sausage fill the section as much as you can without blowing out the casing. This will take a bit of practice, but you will have 5 feet to practice!
- Twist off into 4 inch lengths and cut the links apart with a sharp knife or kitchen scissors once all the sausage has been extruded through the machine. Prick the skin a few times with a toothpick so when you cook them they won’t split.
- Place the links on a platter, cover, and refrigerate for a couple of hours or overnight to meld the flavors. Use within 2 or 3 days or freeze up to 3 months. This recipe did 15 links and 20 patties.
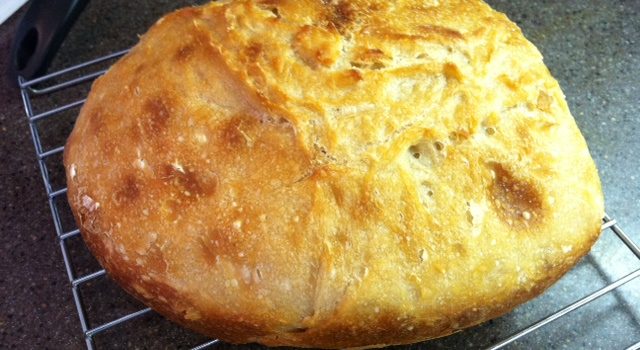
- Here is our 4 ingredient bread that we made for the dinner. It turned out perfect; hot, moist with that rustic crusty exterior.
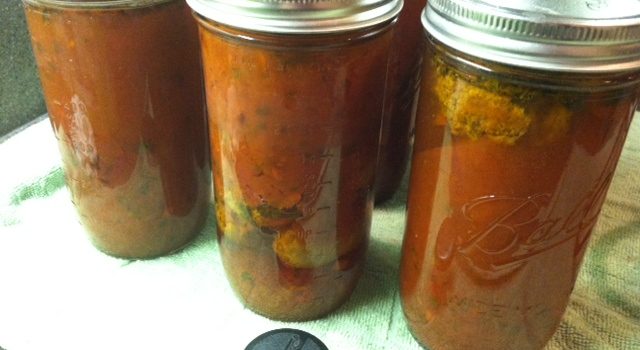
- Here are the jars of sauce with our sausage after pressure canning. We also on a whimp made some meatballs so we could use meat in all the sauce jars.



One Comment
Angela Eaton
Posted on: September 18, 2019What was your processing time and pressure for your meat sauce?